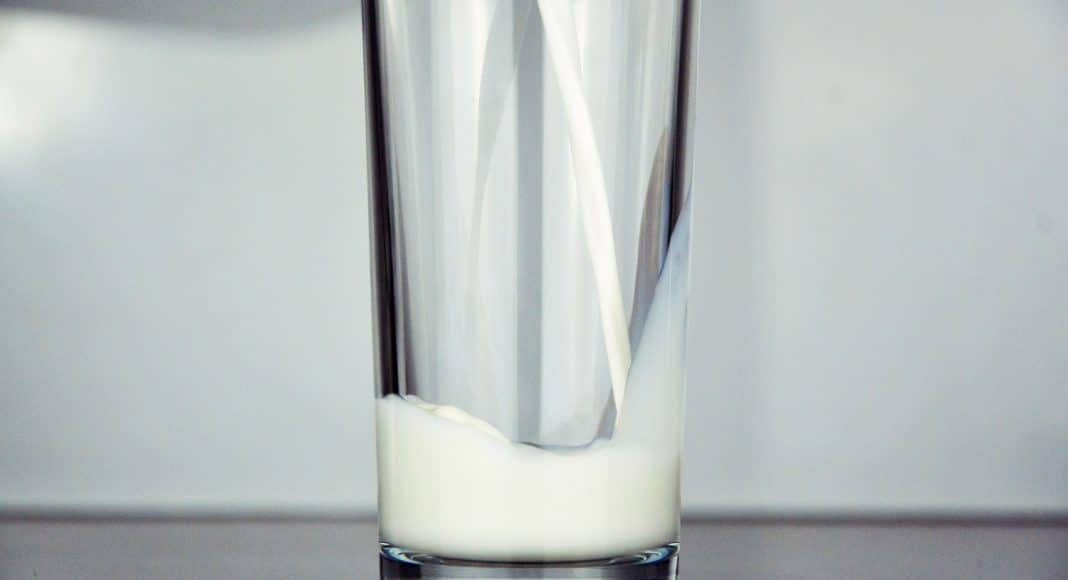
This season, up your cookie dipping game with a DIY marijuana milk. Basically, what you’re doing here is infusing the milk with marijuana by slowly cooking it over low heat. You’re left with a thick, slightly sweet, distinctly marijuana-scented batch of milk which can be used either as a drinking liquid or as an ingredient for cooking or baking.
I personally think it tastes great slightly warmed with a little honey, but you can add some wherever you’d normally use milk: your morning cereal, a batch of buttercream, or stirred into coffee.
Canna-Milk
Makes about ¾ cup (the milk reduces slightly during cooking)
- 1 cup milk
- About 3 grams marijuana (see recipe notes, below)
* This recipe can be scaled up or down using the same ratios
1. Decarboxylate the marijuana. Scatter the marijuana on a lined, rimmed baking sheet; toast at 240 degrees F for 30-40 minutes, turning a few times throughout the baking. Remove from the oven, let cool completely, and then grind it finely. You can also grind it before, but I find that it’s easier to grind after this heating process as it is drier.
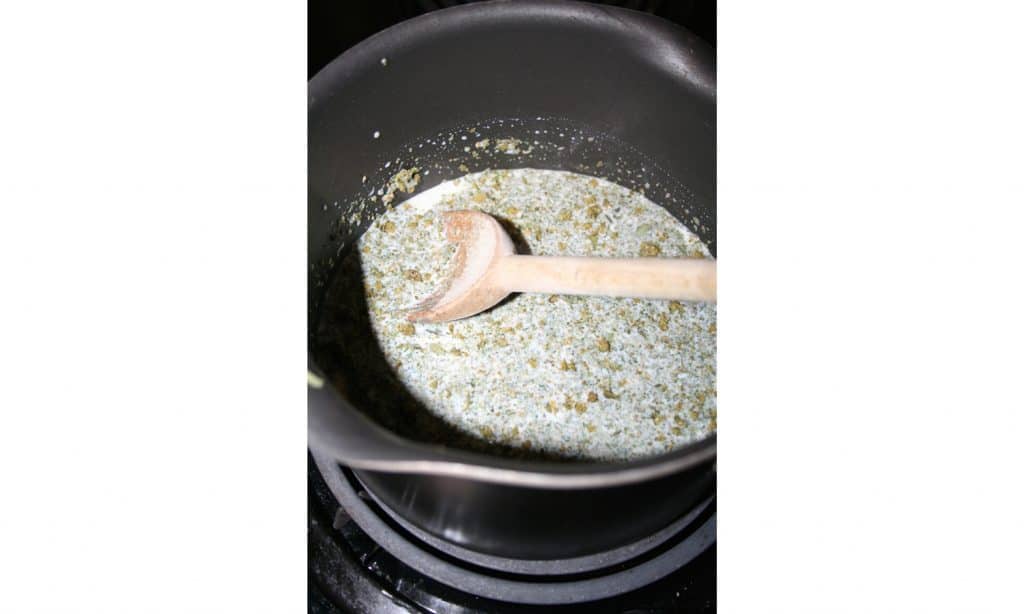
2. Pour the milk into a saucepan. Add the marijuana. It will float at first, but as it warms it will become more combined. Place the saucepan over medium heat, and bring the mixture to a simmer, stirring occasionally to discourage scorching on the bottom of the pot.
RELATED: 5 Ways To Utilize Leftover Marijuana Pulp From Cannabutter
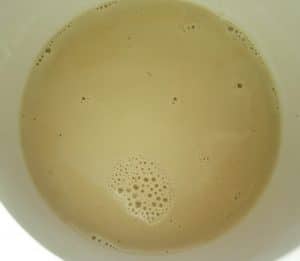
3. Once the mixture comes to a simmer (with bubbles around the edges and steam coming off the mixture, but not boiling), reduce the heat to the lowest setting. Cook, uncovered, for 30-45 minutes, stirring every few minutes and making sure that the mixture isn’t getting so hot that it scorches the bottom of the pan, and that it isn’t forming a “skin” on top (if it does, just break it up and stir it around) If it seems like the milk is reducing a lot, add ¼ cup more. The mixture will thicken slightly as it cooks; it will also begin to take on a slightly greenish-yellow tint.
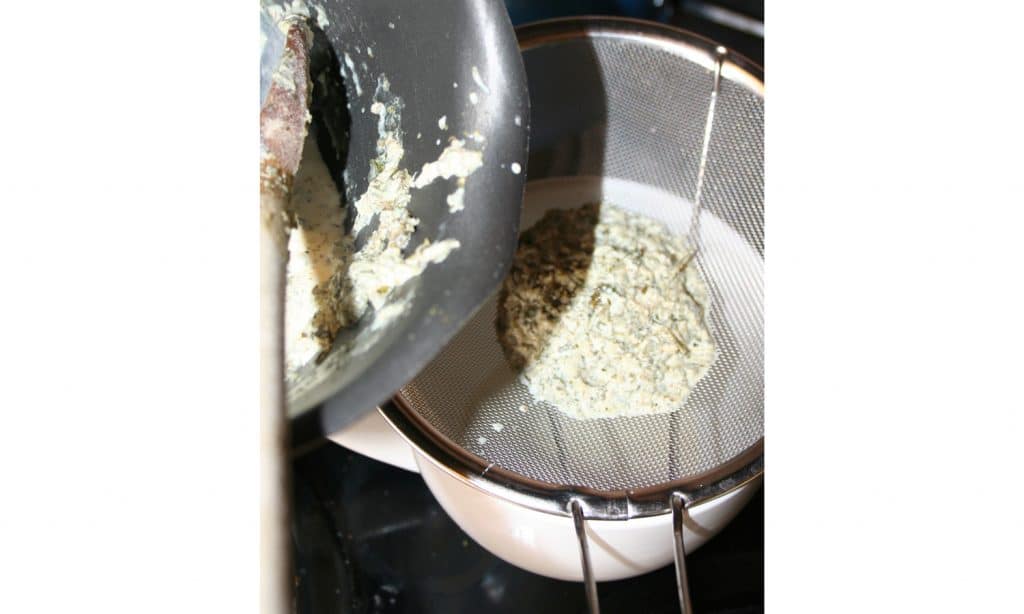
4. Remove from heat and let the mixture cool completely (I let it cool with the marijuana still in the mixture; extra infusing couldn’t hurt, right?). Strain through a mesh strainer or cheesecloth into your storage container. Place in the fridge, and enjoy as you see fit.
Recipe notes:
Dosage: dosing your marijuana milk can be tricky because of the differing strengths of strains and your personal tolerance. I personally found that about 3 grams per cup of milk was a good amount. For me, each “serving” was about ¼ cup. So, each serving had about 1 gram of marijuana, which for me is a little more than the average joint. If the average joint is far larger or smaller for you, you can adjust this recipe accordingly.
RELATED: How To: Make Your Marijuana Edibles Taste Less Like Weed
Dilution: The milk will reduce during the cooking process. You can either add more milk during the cooking process if it is losing a lot of volume, or you can mix a little milk in after your batch of cannamilk has cooled, so that it will bring it back to the original amount of liquid.
Storage: Store your canna-milk as you would store regular milk, in a sealed container in the fridge. Keep in mind, the expiration date on your milk is still going to be the expiration date for your canna-milk, so consume with that in mind!
Serving suggestions
How should you use your canna-milk? Here are just a few ideas:
* Mix it into some mac & cheese
* Stir it in your coffee or tea
* Add it to cake frostings or fillings
* Make your morning cereal better

